
Smoke detectors are one of the most important appliances in your home. They are highly unappreciated until you need it the most. If a fire occurs when you’re inside your home, a smoke detector is the first warning so you and your family can escape to safety.
For this, replacing a smoke detector battery is imperative for a safe home. Follow this guide to understand how smoke detectors work, how often you should replace the battery, and how to do it.
How Do Smoke Detectors Work?
There are two different types of smoke detector operating systems. Ionization detectors use an electrical circuit system and when that circuit is broken by the introduction of smoke, the alarm sounds.
On the other hand, photoelectric smoke detectors use an LED light within an alarm chamber and when that light’s path is broken by smoke, the alarm then sounds.
Why Do You Need to Replace Your Smoke Detector Battery?
Smoke detectors can make the difference between life and death in a house.
A home with a functioning smoke detector is ultimately much safer than a house with a malfunctioning one that can give false security. Dead batteries are the reason for many malfunctioning smoke detectors which take away the basic safety features of the device.
How Often Should You Replace It?
A handy tool built into smoke detectors is the low battery warning. This annoying chirp and flashing light makes it almost impossible to avoid replacing the battery if you don’t want to lose your mind.
Most manufacturers recommend replacing a smoke detector battery at least once a year. Though to stay on the safe side, many homeowners replace theirs twice a year using the Daylight Savings Time dates as markers.
How Do You Replace the Battery?
Though the replacement process may differ slightly between different brands, the basics of replacement remain similar across the board.
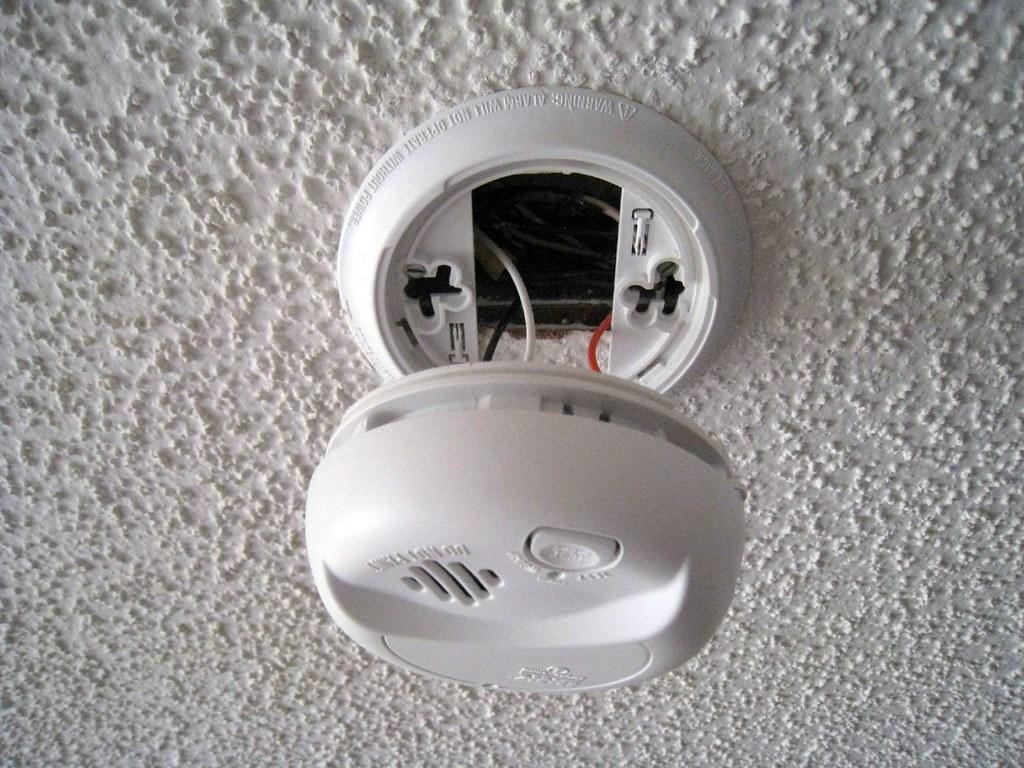
- Access your smoke detector device by safely getting up on a table or chair to reach it.
- The majority of smoke detectors need to be removed completely from the ceiling when changing the battery. Twist the device counter-clockwise until it releases from the mount.
- Replace the battery as directed by the instructions located on the back.
- Return the smoke detector back to its original spot and twist clockwise until it engages again.
- Make sure to test the smoke detector with the testing button located on the front of the device to ensure that the new battery is working.
For as important as these appliances are, smoke detectors typically go unnoticed until they start chirping to indicate that the battery needs to be changed. In the case of a house fire, this device is the critical alert to save the lives of you and your family.
Stay safe and follow this guide for replacing a smoke detector battery the next time that annoying chirp starts.